DIY Splash backs 900 x 750mm
DIY Splash backs 900 x 750mm
$212.00 NZD
DIY Splash backs 900 x 750mm
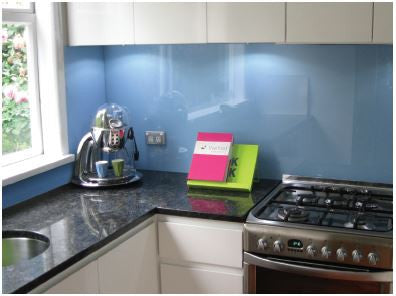
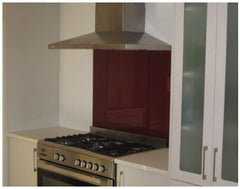
Low Iron Ultra Clear Glass (glass has no tint for a true clean colour) Toughened Safety Glass DIY Installation Hi Gloss Painted Glass Easy to clean Polished Edges Two sizes available 750 x 600 mm or 900 x 750mm Suitable for Bathrooms or Kitchens Available in 12 colours Easy to Install Instructions You will need a tube of clear neutral cure silicon. This is the standard plumping silicone which is often clear in colour. Supplied with the splash back is a double side adhesive. The adhesive is used to hold the splash back against the wall for 24-48 hours whilst the glue dries. Step 1: Check your wall is flat and level, if the wall is bowed then you will need to level the wall to glue fix the splash back. Step 2: Place a soft rug, cardboard or packaging on any hard surfaces you will be placing the splash back. Step 3: Use damp cloth (water only), clean & dry the wall surface and the back of the splash back thoroughly. (Do not use the chemicals). Step 4: Position the splash back on the wall to check the size and fit. Carefully place the splash back on the soft surface (the edges will chi on hard surfaces). Step 5: Apply a generous amount of neutral cure silicon onto the back of the splash back, be careful not to apply the flue too close to the edge to avoid the glue squirting out the sides. Step 6: Remove the protective peel on the double sided tape. Step 7: Carefully position the splash back bottom first against the wall, press firmly on the splash back to spread the silicon glue. (You will only have one attempt to position it correctly as the tape is only designed to stick once. Try and avoid removing the splash back and repositioning it. If you must do this then be sure to brace the splash back for 48 hours at the stick of the tape will not be 100%). Step 8: If your splash back is not resting on the bench or surface then it is recommended you brace the splash back for 48 hours so it does not slip. Duct tape or a timber brace is commonly used. Please be aware duct tape will pull paint off the wall. If you splash back is resting on a surface then the tape will stop it falling forward whilst the glue dries.Shipping included


